
The Anatomy of 2026 Breitling Mesh Systems
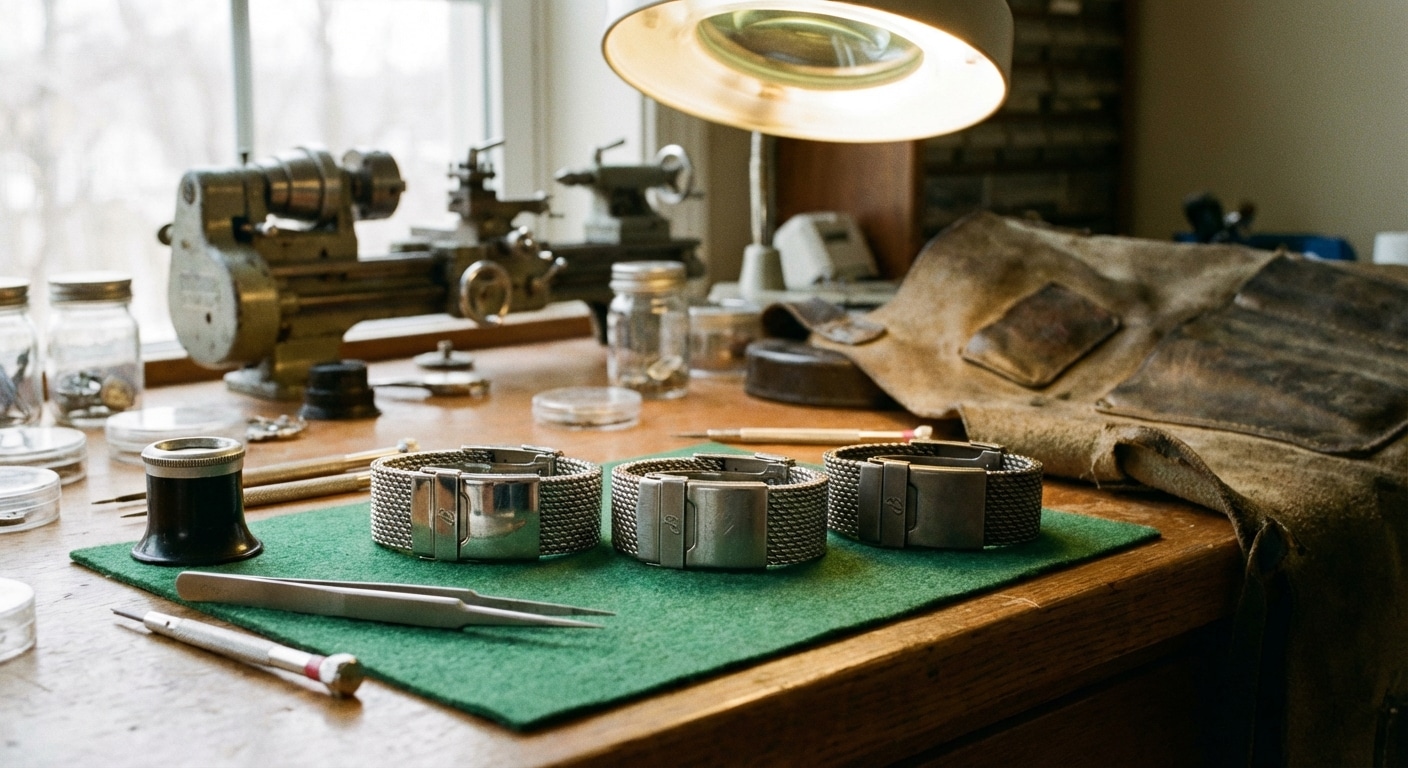
Before you bring a single piece of steel near your wrist, you have to decode the hardware. While many collectors fixate on the best Breitling Avenger strap materials, Breitling-style mesh is not a monolith; it is a category of bracelets utilizing entirely different mechanical locking systems depending on the model year and origin. By 2026, whether you are handling a factory-fresh Superocean or a high-end aftermarket replacement, treating all mesh as if it adjusts the same way is how you permanently ruin the weave.
The Sliding Rail Clasp Mechanism
Found predominantly on newer, thinner mesh profiles, this system relies on a cam-locking mechanism that bites directly into a solid steel rail. The entire security of the watch rests on a tiny internal locking tooth. The primary failure point here is user error: that tooth can easily shear off if you force the cam closed while it is misaligned with the rail indentations. Once that tooth is rounded off, the clasp will endlessly slide, rendering the bracelet useless.
Friction-Lock Foldover Systems
Common in vintage reissues and aftermarket alternatives, this system relies purely on the physical tension of bent steel plates. We frequently observe severe metal fatigue here. Many third-party mesh bands, and specifically replica bracelets, utilize inferior 316L alloys that lack the necessary spring memory. When you adjust them, they bend permanently rather than snapping back into place, eventually resulting in a clasp that pops open the moment you flex your wrist.
Screw-Pin Link Removals
Utilized on the heavy-duty Superocean Heritage mesh, this system involves solid removable links at the clasp end secured by 1.6mm or 1.8mm threaded screws. Factory assembly almost always involves heavy industrial thread-locker. What looks like a simple sizing job is actually a high-torque extraction hazard. If you do not break the chemical bond of the thread-locker first, you will snap the screw head clean off inside the link.
Expert Authentication Insight
If you want to know what you are really dealing with, examine the interior machining of the screw channels or the sliding rail under a 10x loupe. OEM Breitling mesh features cleanly tapped threads and polished rail indentations with zero burrs. Aftermarket and replica mesh bracelets frequently exhibit rough, unfinished interior channels and microscopic metal shavings. These hidden imperfections cause the adjustment mechanism to grind or seize entirely during operation.
The Workbench Setup: $10 Hacks vs. $100 Pro Tools
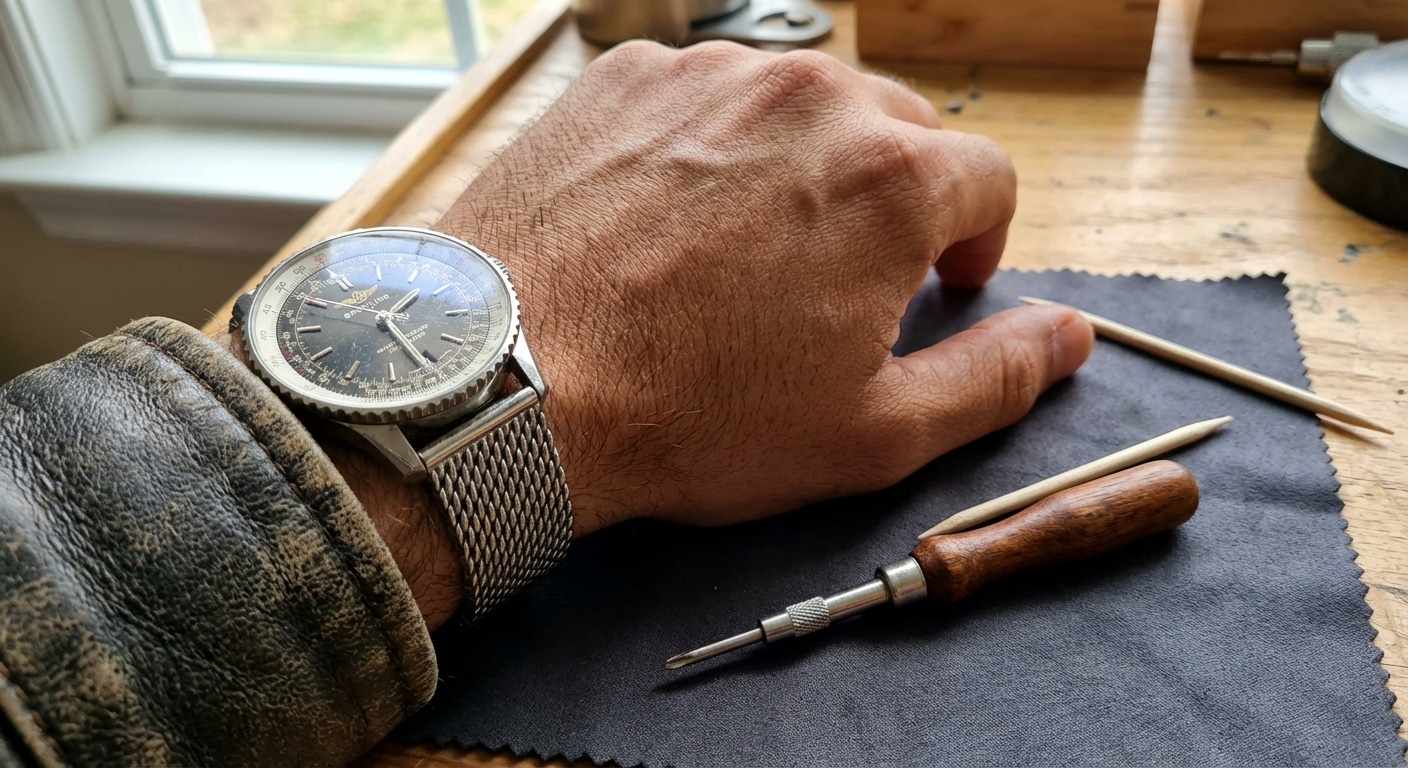
A ruined $800 OEM bracelet is usually the result of a $2 tool. Adjusting mesh requires exact tool matching to distribute force safely. However, you do not always need to spend a fortune to get professional results, provided you know exactly where budget tools suffice and where professional-grade equipment is absolutely mandatory.
Screwdrivers: Hollow-Ground vs. Wedge Profiles
A standard wedge-profile screwdriver—the kind found in cheap Amazon repair kits—will slip and destroy the screw head. Its tapered shape naturally pushes the blade out of the slot as torque is applied. You need a hollow-ground (parallel blade) screwdriver to seat entirely flush against the inner walls of the screw. While a professional Bergeon 30081-160 costs upwards of $25 per driver, a $10 Wera Kraftform Micro in 1.5mm or 1.8mm provides a nearly identical parallel profile. It seats perfectly in Breitling mesh screws, completely preventing torque-slip.
Spring Bar Tweezers and Pin Pushers
For micro-adjustments at the clasp, precision is non-negotiable. A Bergeon 7825 tweezer is the $150 gold standard for removing spring bars without scratching the inner lugs. However, a $15 generic spring bar fork with a 1.0mm fine tip is perfectly adequate for mesh clasp micro-adjustments, provided you follow one strict rule: only use the tip for direct inward compression, never for prying or leveraging against the steel.
The Micro-Fiber Drop Zone: Mitigating Scratch Risks
Mesh weaves are essentially flexible steel files. If the bracelet folds over forcefully during adjustment, it will scratch itself and your polished clasp. Always lay a thick, high-density microfiber cloth directly under the clasp during the sizing process. This $5 investment absorbs the shock of dropped tools, captures rogue screws, and prevents the mesh from grinding against your workbench.
Expert Authentication Insight
You can often test the material integrity of the bracelet by applying light torque to a screw head with a hollow-ground driver. OEM Breitling screws are machined from hardened steel and will resist deformation. Conversely, many replica mesh bracelets use soft, untreated steel screws that will immediately show microscopic denting—known as cam-out—at the slot edges even under minimal pressure.
Executing the Sliding Rail Adjustment Without Gouging
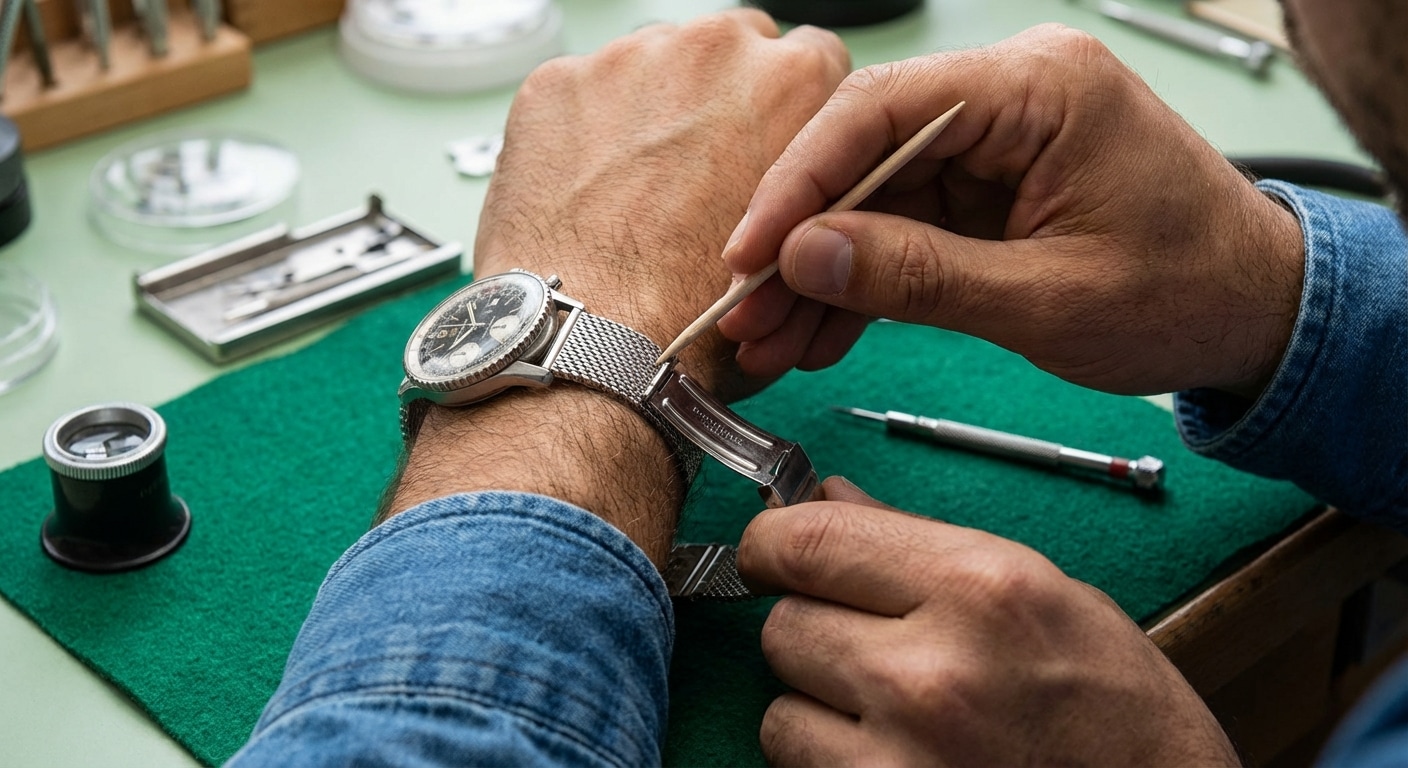
The sliding rail clasp is brilliant for fine-tuning your fit on Breitling replicas for small wrists, but the polished cover is a magnet for deep, uncorrectable scratches. Executing this adjustment requires patience and a strict ban on leveraging bare metal against bare metal.
Releasing the Locking Cam Safely
The locking flap on a sliding clasp requires upward leverage to release its bite on the rail. Never use a steel screwdriver to pry this open. One slip will leave a permanent gouge across the brushed finish. Instead, use a heavy-duty plastic spudger or a wooden cuticle stick. If you are in a bind and absolutely must use a steel tool, wrap the tip tightly in a single layer of Kapton tape to prevent metal-on-metal scarring.
Micro-Adjusting for 3 PM Wrist Swell
When sliding the clasp body along the mesh rail, you must account for daily wrist expansion. A 17cm wrist sitting in an air-conditioned office at 9 AM will frequently swell to 17.3cm by 3 PM after a walk or a salty lunch. Position the clasp so that you can just slide the tip of your pinky finger under the mesh at the bottom of your wrist. If the rigid edge of the clasp digs into your ulnar styloid (the prominent wrist bone), the rail is set one notch too tight.
Securing the Cam and the Click Test
Once positioned, the locking cam must be pressed down flat. Do not use a hammer, and do not use the handle of your screwdriver. Press firmly with your thumb. If you encounter extreme resistance, stop immediately. The internal locking tooth is resting on top of a rail ridge rather than seating cleanly inside an indentation. Forcing it down will permanently warp the clasp chassis.
Expert Authentication Insight
Measure the gap between the closed locking cam and the main clasp body using digital calipers. A properly authenticated and functioning sliding clasp will sit entirely flush, exhibiting less than a 0.1mm tolerance gap. A warped clasp, or a poorly manufactured replica, will exhibit a visible wedge gap of 0.3mm or more, indicating the cam has failed to lock perfectly parallel to the chassis.
The heavy-gauge mesh utilized on models like the Superocean Heritage does not rely on simple friction pins. Instead, it features solid removable links near the clasp, secured by 1.6mm or 1.8mm threaded screws. This is where the highest concentration of workbench disasters occurs. Treating these precision components like standard cabinet hardware will instantly permanently scar the high-polish finish or destroy the link entirely.
Heat Application for Loctite Removal
Factory Breitling mesh screws are almost universally secured with heavy-duty thread-locker, typically Loctite 222 or 243. Attempting to turn a locked screw cold is a critical error; the torque required will easily snap the screw head clean off, leaving the threaded shaft entombed inside the link. To break the crystalline structure of the adhesive without heating the entire bracelet, apply localized heat. Press the fine tip of a soldering iron directly onto the screw head for 15 to 20 seconds. This isolates the thermal transfer to the pin itself, softening the Loctite enough to permit safe extraction.
Torque Application and Thread Stripping Risks
Once the heat is applied, your screwdriver technique must be flawless. Apply downward pressure that exactly matches your turning force. If the screw does not yield with moderate torque, stop immediately and reapply heat. A common mistake is applying lateral force when a screw is stubborn. Because the screw shaft is suspended inside a hollow mesh tube, lateral pressure will bend the shaft. Once bent, the screw locks permanently against the internal walls of the link, rendering it impossible to remove without a drill.
Reassembly and Thread Locking Protocol
When reinserting the mesh pins after finding your ideal fit, never assemble them dry. Daily wrist vibration will back a dry screw out within weeks, leading to a dropped watch. However, applying adhesive incorrectly is just as dangerous. Use a microscopic dab of low-strength purple thread-locker applied with a needle tip exclusively to the female threads inside the link, not the screw itself. Pushing a glue-coated screw through the link will force adhesive into the mesh articulation joints, freezing them solid. Tighten the screw only until you feel firm, sudden resistance. Over-torquing will easily strip the internal threading of the solid steel link.
Expert Authentication Insight
If you extract a screw, examine the thread pitch under a 10x loupe. Authentic OEM Breitling screws feature precision-rolled threads that remain perfectly uniform from the base to the tip. In contrast, inferior aftermarket mesh systems utilize cut threads. These leave microscopic burrs and uneven spacing along the shaft, which you can actually feel as a gritty, high-friction scraping sensation during extraction.
Friction-Lock Clasps: Tension and Bending Hazards
Found frequently on vintage reissues and widely utilized in aftermarket alternatives, friction-lock foldover systems rely entirely on the tension of bent steel rather than mechanical push-buttons. Managing the tension of these clasps to achieve the ideal wrist fit outlined in a Breitling replica size guide requires an understanding of metal fatigue. You are deliberately bending steel to achieve a secure fit, and there is a very fine line between adjusting tension and destroying structural integrity.
Assessing Initial Clasp Tension
Before making any adjustments, diagnose the current friction state. A properly tensioned clasp should snap shut with firm thumb pressure and require deliberate fingernail leverage under the lip to open. Perform a gravity test: if the unlatched clasp falls open completely under the sheer weight of the watch head, the inner friction plates have lost their spring memory and require recalibration.
The Soft Cloth Prying Technique
To tighten a loose friction clasp, you must slightly increase the curve of the inner folding plates. Place the entire clasp assembly on a high-density microfiber cloth to protect the exterior polish. Using only your thumbs, apply gentle, curving pressure to the inner metal arches. Never use pliers. The localized pressure of steel jaws will crease the metal rather than curving it, creating a permanent weak point that will eventually snap.
Warning: The Fragility of Replica Clasps
The 2026 secondary market requires a strict warning regarding aftermarket and replica mesh clasps. The steel alloys utilized in these third-party components are notoriously brittle. While an OEM Breitling clasp is forged from high-grade 316L stainless steel that can survive dozens of micro-bends over a decade of wear, replica clasps lack this elastic memory. Applying the exact same thumb pressure to a replica clasp will frequently cause micro-fractures. Bending an aftermarket friction plate more than 1 to 2 millimeters often results in the metal snapping entirely in your hands.
Expert Authentication Insight
Inspect the hinge rivets connecting the folding arms of the friction clasp. True OEM construction utilizes solid, flush-polished rivets that articulate smoothly with zero lateral play. Substandard versions rely on hollow pins or poorly peened solid pins. If you unlatch the clasp and find that the folding arms wobble side-to-side by 1mm or more, you are handling a compromised or replica component.
Triage: When to Abandon DIY and Seek a Watchmaker
Knowing how to adjust a mesh bracelet is important, but knowing when to walk away from the workbench is critical. Continuing to force a failing adjustment will escalate a minor inconvenience into a total replacement of an $800 bracelet. Recognize these failure points immediately.
Seized Screws and Stripped Heads
The moment you feel your screwdriver blade cam out and round off the edges of a mesh link pin, your DIY journey is over. Do not attempt to drill it out yourself. A professional watchmaker possesses the tooling to salvage the link. If the mesh is pure stainless steel and the stuck screw is carbon steel, a watchmaker can utilize an alum bath. Boiling the link in an alum solution will chemically dissolve the broken carbon steel screw over 24 hours while leaving the stainless steel mesh tube completely unharmed.
Bent Mesh Weaves Near the Lug Ends
Heavy mesh is constructed from tightly woven wire. If the actual weave becomes kinked—a common result of forcing a spring bar that is too thick through the end-tube—it cannot be repaired at home. The structural geometry of the woven steel is permanently compromised. Attempting to flatten a kinked mesh bulge with pliers will simply crush and snap the individual wire strands, leaving sharp steel burrs that will tear your clothing and skin.
Catastrophic Clasp Failure
If a sliding rail clasp chassis becomes warped to the point that it binds and will no longer slide smoothly over the mesh, the internal geometry is dead. Continuing to force the clasp up the rail will drag the misaligned locking teeth across the mesh, gouging deep, unpolishable scratches down the entire visible length of the bracelet. Stop immediately, remove the clasp, and source an OEM replacement.
Expert Authentication Insight
You can evaluate the overall health and manufacturing quality of the mesh weave through an articulation test. Hold the bracelet horizontally by the clasp and let the tail hang down. An authentic, undamaged mesh bracelet will drape smoothly, forming a perfect curve with a consistent gravity drop. A damaged bracelet, or a poorly manufactured replica, will exhibit visible stiff spots, sharp angles, or “frozen” links where the wire weave has bound together due to improper tensioning or structural deformation.